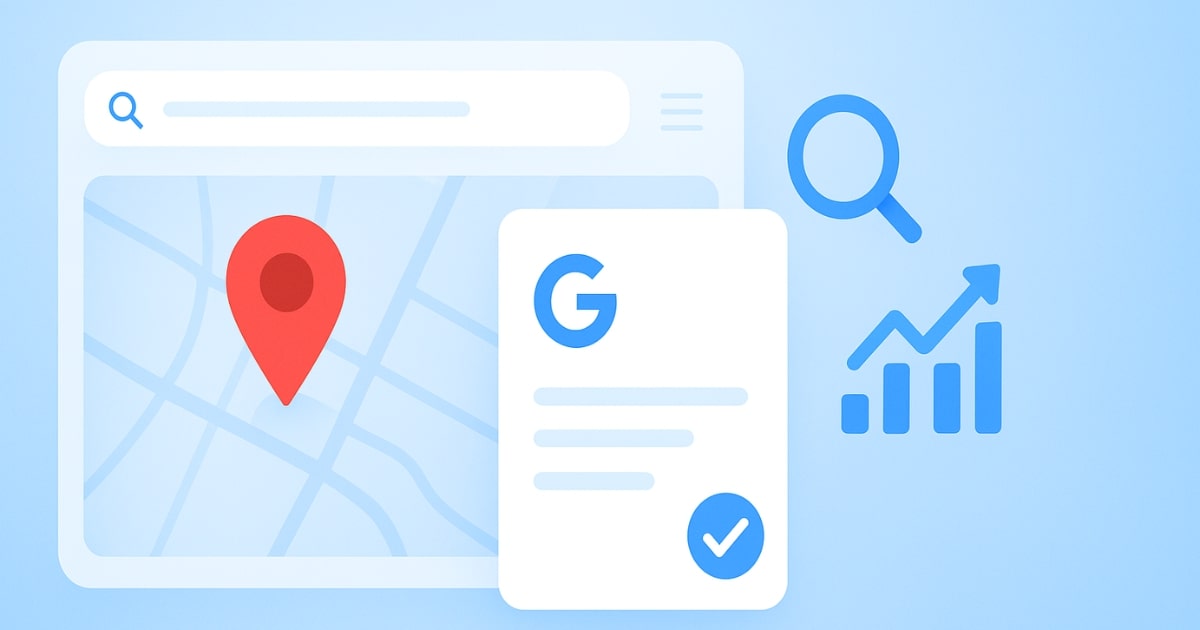
In today’s digital world, Google Business Profiles are a lifeline for local businesses. Whether you own a small bakery, a tuition center, or a chain of retail stores, being visible on Google Maps and local search results can make or break your success.
Unfortunately, many business owners still fall for quick-fix ranking tricks — stuffing keywords in the title, using fake addresses, or following shady case studies they saw online. These might give temporary boosts, but they often lead to suspensions and lost credibility.
This article will walk you through the right way to create, optimize, and verify your Google Business Listing so it not only ranks but also brings real customers. We’ll cover every step in detail, from creating your account to fine-tuning your map pin, and even passing the dreaded video verification.
Table of Contents
Why Google Business Listings Matter More Than Ever
The local SEO landscape has changed dramatically in the last few years. Google has introduced new features, verification methods, and ranking signals. Businesses are competing to get indexed and ranked in hours instead of days.
But here’s the catch — the fast-ranking “tricks” many people showcase on YouTube or in online groups often lead to disaster. For example:
- Keyword-stuffed business names might rank in 48 hours but get suspended soon after.
- Fake address listings might temporarily show up but will be removed once Google detects them.
- Over-optimized profiles without real business presence fail to convert visitors into customers.
If you want long-term growth, you need a professional, compliant listing that follows Google’s guidelines.
Step 1: Start with the Right Google Account
Before you even open the Google Business Profile Manager, make sure you’re signed in with the correct email.
- If your business is completely new or unrelated to your other listings, use a fresh Gmail account.
- If you already manage multiple branches of the same business, you can use the same account for consistency.
- Avoid using an email with strikes or negative history — for example, if that account has been flagged for fake reviews, it may affect your new listing’s health.
Think of your email as the foundation of your listing — a weak foundation makes everything unstable.
Step 2: Enter Your Business Name and Category
When starting your listing, enter your exact business name — no extra keywords, no marketing phrases. For example:
- Correct: “Bright Minds Public School”
- Wrong: “Bright Minds Public School – Best CBSE School in Delhi”
Then, choose the most accurate primary category. If you run a school, select School; if you run a digital marketing agency, select Digital Marketing Service.
Choosing the wrong category can confuse Google’s algorithm and hurt your rankings.
Step 3: Specify Whether Customers Visit Your Location
Google will ask if customers physically visit your business location.
- If you have a storefront, office, restaurant, or school, choose Yes.
- If you operate virtually or visit customers at their location (e.g., a home tutor or cleaning service), choose No.
For example, a cloud kitchen or freelance consultant who never meets clients in person should select No to avoid misleading customers.
Step 4: Add a Real, Accurate Address
Your business address is a trust signal for both Google and customers. Avoid these mistakes:
- Never use fake addresses just to target a high-traffic location.
- Don’t take on projects from clients who ask for spam listings in countries where they don’t operate.
- Never rely on temporary rented spaces just to create a listing.
Fake or misleading addresses will eventually be caught, and you’ll face suspension — sometimes without warning.
Instead, use your actual, operational address, and if needed, use the second address line for extra details like building or floor numbers.
Step 5: Perfect Your Map Pin Location
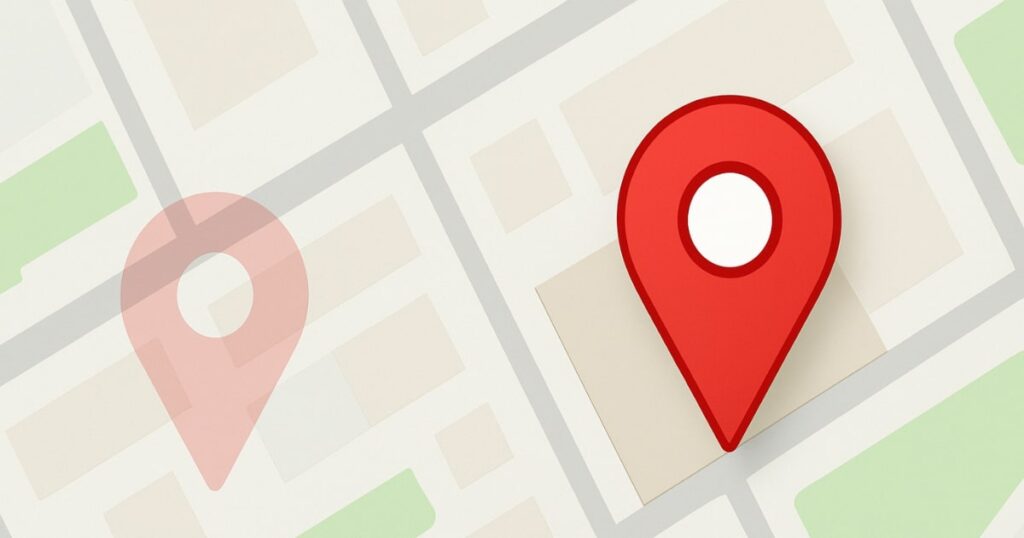
One of the most overlooked steps is adjusting your map pin to the exact location of your business entrance.
Why it matters:
- If your pin is in the middle of a road, customers will get wrong driving directions.
- Delivery drivers and visitors may struggle to find you, leading to bad reviews.
- Correct pin placement improves trust and customer satisfaction.
Zoom in on the map and place the pin right where customers enter your business — not just somewhere in your building compound.
Step 6: Indicate Delivery or On-Site Service (If Applicable)
Google will ask if you offer delivery or on-site visits.
- If your business delivers products or services to customer locations, choose Yes.
- If customers must come to you (like a gym or a school), choose No.
This helps customers know what to expect and ensures your profile is displayed in the right search contexts.
Step 7: Add Your Phone Number and Website (Never Skip)
While adding your phone number is obvious, many business owners skip adding a website — a huge mistake.
Why you must add your website:
- It prevents listing hijacking by scammers.
- It boosts SEO by connecting your Google profile to your site.
- It gives customers a place to learn more before contacting you.
Instead of linking to your homepage, use a location-specific landing page. For example:
www.brightminds.com/school-in-delhiwww.bakerydelight.com/connaught-place
This not only improves local relevance but also helps track conversions.
Step 8: Verification — The Phone Code or Video Method
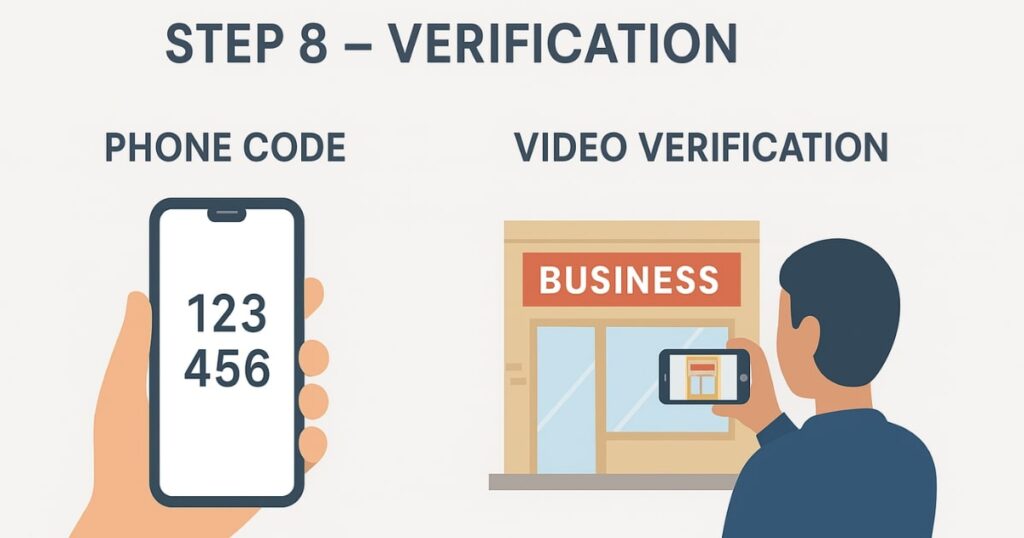
Google now often skips the old postcard verification and instead uses:
- Phone code verification (instant)
- Business video verification (more common for some categories)
If you’re offered the video method, here’s how to succeed:
How to Record a Verification Video That Works
- No cuts or edits — record in one continuous take.
- Start outside your business showing the exterior and permanent signage.
- Walk through the main entrance.
- Show areas that only staff or owners can access (like behind the counter).
- Display proof of business operations (cash register, student attendance book, business cards).
- Avoid showing sensitive information like tax numbers or personal data.
The goal is to prove to Google that you operate from that location and have real access to it.
Step 9: Upload and Submit
After recording, transfer the video to your computer and follow Google’s upload instructions. If you’re using the mobile QR method, simply scan and start recording directly from your phone.
Once submitted, verification can take a few hours to a few days.
Bonus Tips for Long-Term Local SEO Success
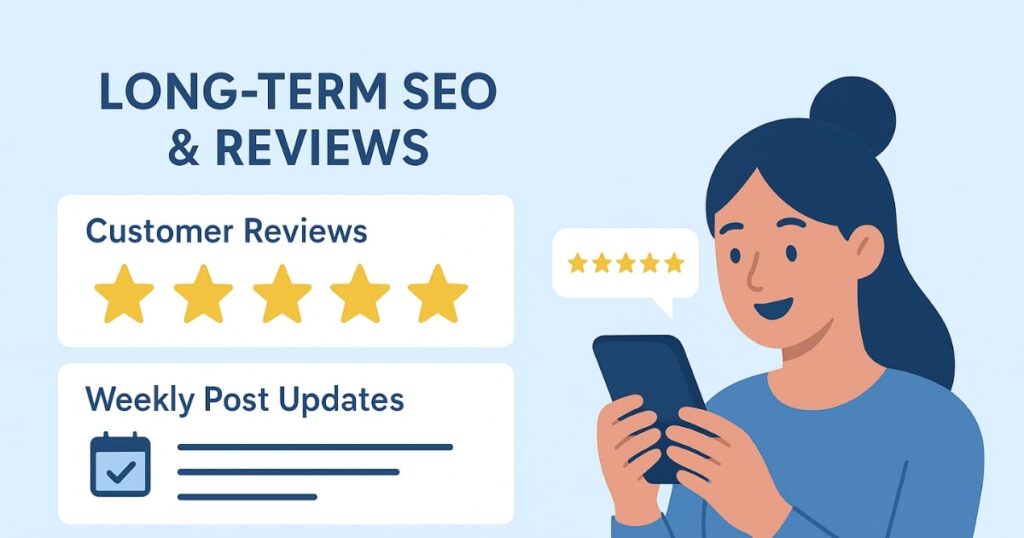
Creating your listing is just the beginning. To keep it ranking and driving customers, follow these best practices:
- Post updates regularly: Share offers, events, or news at least once a week.
- Collect real reviews: Ask satisfied customers to leave feedback.
- Respond to reviews: Whether positive or negative, reply politely and promptly.
- Update photos: Keep your gallery fresh with new images of your products or premises.
These actions signal to Google that your business is active and relevant.
Final Thoughts
Google Business Listings are a powerful tool — but only if built and maintained the right way. Avoid shortcuts, respect the guidelines, and focus on delivering real value to customers.
A properly set up and verified listing can bring you consistent traffic for years, while a spammy or fake one can be gone in days. Invest the effort now, and you’ll reap the rewards for a long time.
FAQs
1. How long does Google Business verification take?
Verification can be instant with a phone code, but video verification usually takes 24–72 hours.
2. Can I use a virtual office address for my listing?
No. Google requires a real, physical address where customers can interact with your business.
3. What happens if my Google Business Listing is suspended?
You’ll lose visibility in Google Search and Maps until you resolve the suspension with proper proof.
4. Is it okay to put keywords in my business name?
No. Google’s guidelines prohibit keyword stuffing in the business name field.
5. Do I really need a website for my listing?
Yes. A website improves trust, prevents hijacking, and boosts SEO performance.
6. What should I avoid showing in my verification video?
Avoid personal data, tax numbers, or any sensitive financial information.
7. Can I manage multiple listings from one Google account?
Yes, if they are branches of the same business. For unrelated businesses, use separate accounts.